After a long drive, the last thing anyone wants is a confusing campsite setup. Knowing how to set up your RV efficiently could make the difference between a stressful arrival and a smooth start to a relaxing trip. Whether parked at a full-service campground or a more rustic site, a consistent setup routine helps prevent mistakes and protects the RV’s systems. Before pulling into the site, it helps to pause and assess the layout. Take a quick walk around the campsite to check for obstacles, uneven ground, low branches, or poorly positioned utility hookups. Positioning the RV correctly from the beginning saves time and makes the rest of the setup process much easier.
Parking should allow easy access to water, power, and sewer connections if they are available. It also helps to think about how the RV’s slide-outs, awning, and outdoor living space will be used once the vehicle is fully set up.
Leveling and Stabilizing to Set Up Your RV Properly
One of the most important steps when learning how to set up your RV is making sure it is level. A properly leveled RV keeps appliances working correctly and makes the interior far more comfortable. After parking in the desired spot, begin by checking the level using a built-in monitor or a small bubble level placed on a flat interior surface. If the RV is not level side to side, leveling blocks or ramps can be placed under the wheels before final positioning. Once the RV is level side to side, stabilizing jacks can be lowered. Stabilizers are designed to reduce movement rather than support the full weight of the RV, so they should be extended until they firmly touch the ground without lifting the vehicle. This step significantly improves comfort inside the RV, especially when people are moving around.
Hooking Up Utilities When You Set Up Your RV
Connecting utilities is the next step in the process to set up your RV at a campground. The order of hookups may vary slightly depending on personal preference, but many experienced RVers begin with electricity. Plugging into shore power allows air conditioning, lights, and appliances to run immediately. It’s generally recommended to turn the breaker off at the pedestal before connecting the power cord, then switch it on once the connection is secure.
Water hookup usually follows. A potable water hose connects the campground spigot to the RV’s city water inlet. Many RVers use a water pressure regulator to prevent excessive pressure from damaging plumbing components. If the campsite provides a sewer connection, the sewer hose may be attached as well. Keeping the gray and black tank valves closed until the tanks are ready to dump helps prevent odors and ensures a proper flow when emptying.
Expanding Your Living Space as You Set Up Your RV
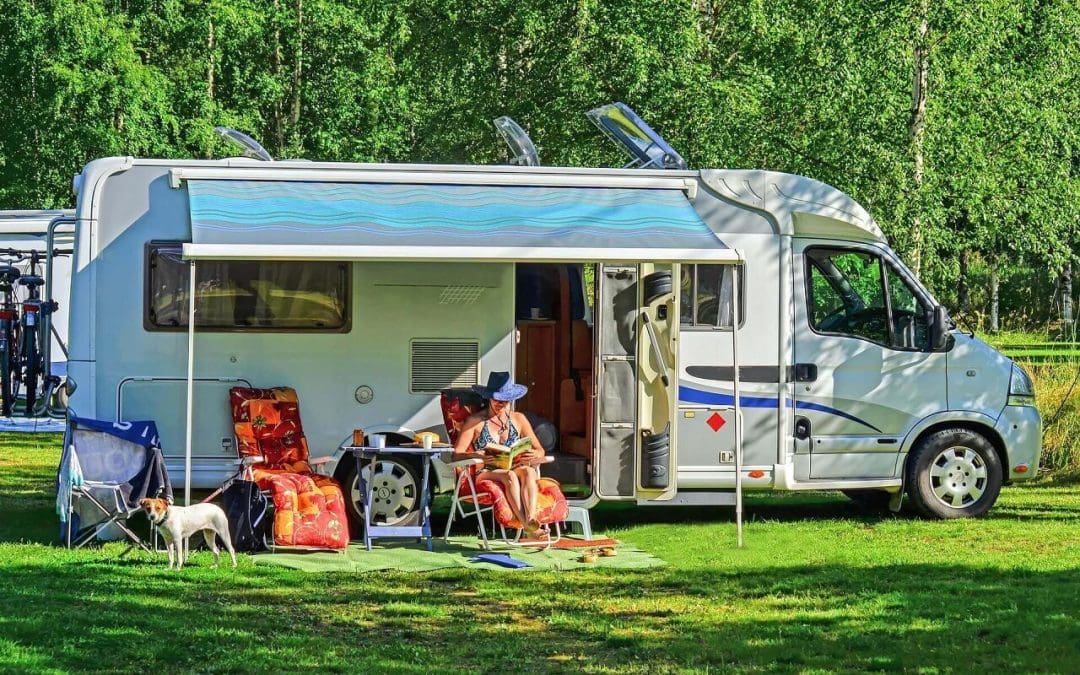
Once the RV is level and utilities are connected, the living space can finally expand. Slide-outs, if equipped, are typically extended at this stage. Extending slides before leveling or stabilizing may put unnecessary stress on the mechanisms, so those earlier steps must be complete first. The awning can then be deployed to create shade and an outdoor gathering area. Many RVers also set up outdoor mats, folding chairs, and a small table to make the campsite feel more like home. Taking a few minutes to arrange the outdoor space often makes a big difference in how enjoyable the stay becomes. RV camping is as much about the outdoor environment as it is about the comfort inside the vehicle.
Final Checks Before Relaxing
Before calling the setup complete, it’s worth doing a quick walk-around inspection. Make sure power cables and hoses are secure, stabilizers are firmly placed, and slide-outs have enough clearance. Inside the RV, check that the refrigerator is running, the water system is functioning, and the climate control is set appropriately. These small checks help catch minor issues early and prevent disruptions later in the trip. Developing a consistent routine to set up your RV will make each stop easier and faster.
Frequently Asked Questions (FAQs)
How long does it take to set up an RV at a campsite?
For most RVers, setup typically takes between 10 and 30 minutes, depending on the size of the RV and the number of hookups required.
Do you level an RV before extending slide-outs?
Yes. The RV should always be leveled and stabilized before extending slide-outs to avoid stress on the slide mechanisms.
Should the sewer hose be connected immediately?
It can be connected during setup if the site has a sewer hookup, but the tank valves should remain closed until it’s time to empty the tanks.
Do all campsites provide hookups?
No. Some campgrounds offer full hookups with water, electricity, and sewer, while others may provide only electricity or no utilities at all.
What is the most important step when setting up an RV?
Leveling the RV is one of the most critical steps because it protects appliances, improves comfort, and ensures systems operate correctly.
Blue Ribbon RV Inspection offers RV inspections throughout Arizona. Contact us to schedule an appointment today.