Getting set up is the first part of your camping adventure. Setting up your RV at camp can be easy if you know what to do. With a little preparation and a systematic approach, you’ll be able to get your home on wheels ready in no time. Here’s a step-by-step guide to help you set up your RV at camp like a pro.
Assess the Site Before Setting Up Your RV
When you arrive, the first thing you’ll want to do is assess the campsite. Take a quick walk around the area to identify the best position for your RV. Look for level ground, noting any slopes or dips requiring leveling adjustments. Check for overhead obstacles, such as low-hanging branches or power lines, that could interfere with your setup.
When positioning your RV, ensure you’re close enough to hook up to utilities if your site has them. If you’re at a back-in site, take the time to align your RV. Enlist the help of a spotter to guide you into place. Once you’re happy with the position, engage the parking brake and chock your wheels to stabilize the RV.
Level Your RV
A level RV is essential for your appliances, especially your refrigerator, to function correctly. Use a bubble level to check your RV’s positioning. If adjustments are needed, use leveling blocks or built-in leveling jacks to get the RV even. Start with the side-to-side leveling first, followed by front-to-back adjustments. Once you’re level, double-check your work before moving on to the next step.
Connect to Utilities While Setting Up Your RV
Most RV campsites offer hookups for water, electricity, and sewer. Start with the power hookup. Match the electrical connection to your RV’s amperage requirements (usually 30 or 50 amps), and use a surge protector to safeguard your RV’s electrical system. Plug in securely and check that your power is running.
Next, connect to the water supply. Attach your RV’s freshwater hose to the campsite’s spigot using a water pressure regulator to protect your plumbing system. Turn on the water slowly to check for leaks and ensure a steady flow.
For sewer connections, put on gloves and attach your RV’s sewer hose securely to the dump station inlet. Make sure the hose is adequately supported and angled to allow waste to flow easily. Open the black tank valve first, followed by the gray tank, to rinse the hose.
Extend Slide-Outs and Stabilizers
Once your RV is leveled and connected to utilities, it’s time to extend your slide-outs if you have them. Before doing so, ensure the area is clear of obstructions. Extend them slowly, checking for any unusual resistance or noises. If your RV has stabilizing jacks, lower them to minimize rocking while you move around inside. Remember, stabilizers are not meant for leveling but for added stability.
Set Up Your Outdoor Space
With the essentials taken care of, you can focus on creating a comfortable outdoor living area. Unroll your awning and secure it properly. Set up your camping chairs, table, and any other outdoor gear. If you have outdoor rugs or mats, place them down to define your space and keep dirt out of the RV.
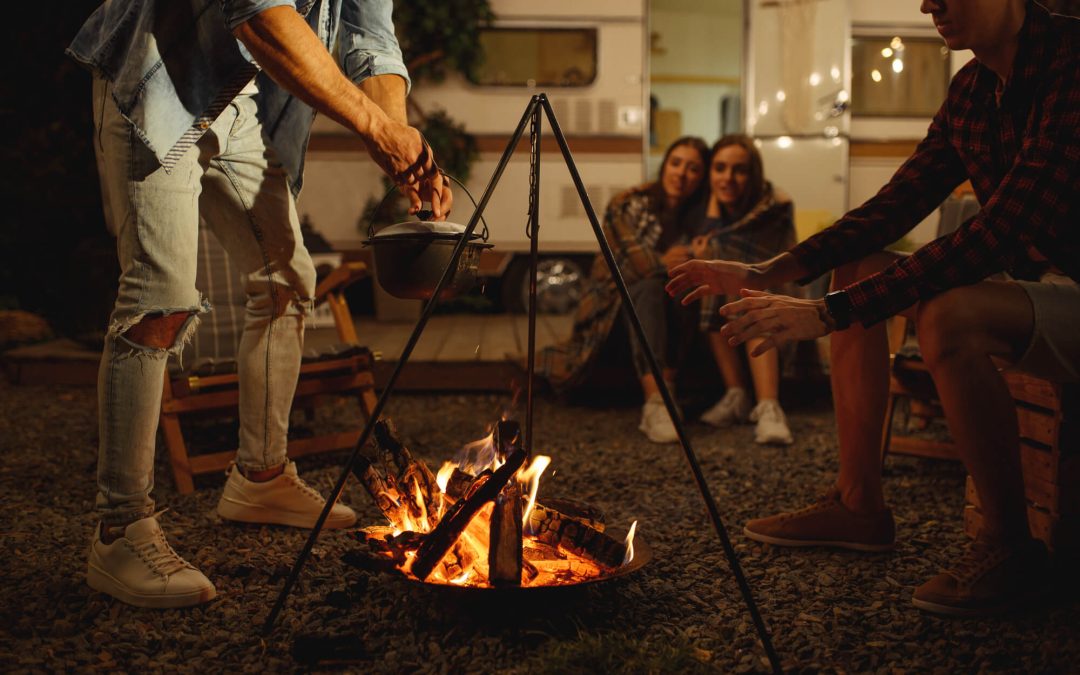
Many campers like to add personal touches such as string lights, lanterns, or a portable grill. These small additions can make your campsite feel cozy and inviting.
Test Everything Before Relaxing
Before settling in, take a moment to test all your systems. Make sure your lights, water pump, air conditioner, and other appliances are functioning correctly. Check for any leaks in your water and sewer connections. Addressing potential issues early will save you headaches later.
Once everything is set up and working as it should, it’s time to kick back and enjoy your campsite. Congratulations—you’ve successfully set up your RV like a pro!
Frequently Asked Questions on Setting Up Your RV
What should I do if my RV site isn’t level?
Use leveling blocks or your RV’s leveling jacks to even out the RV. If there are severe slopes, consider requesting a different site if possible.
How do I handle a power hookup if my RV uses a different amperage than the campsite provides?
Use a power adapter to connect to the available amperage. For example, a dogbone adapter can help you connect a 30-amp RV to a 50-amp outlet.
How often should I empty my tanks?
Empty your tanks when they’re about two-thirds full to prevent odors and ensure proper drainage. Always empty the black tank first, followed by the gray tank, to flush the hose.
What if I don’t have a water pressure regulator?
It’s highly recommended to get one, as high water pressure can damage your RV’s plumbing. In the meantime, open the spigot slowly to minimize the risk.
Is it necessary to use a surge protector for electrical hookups?
Yes, a surge protector is a valuable tool to protect your RV’s electrical system from power surges or faulty wiring at the campsite.
Blue Ribbon RV Inspection offers RV inspections and services to customers in Arizona. Contact us to schedule an appointment.

